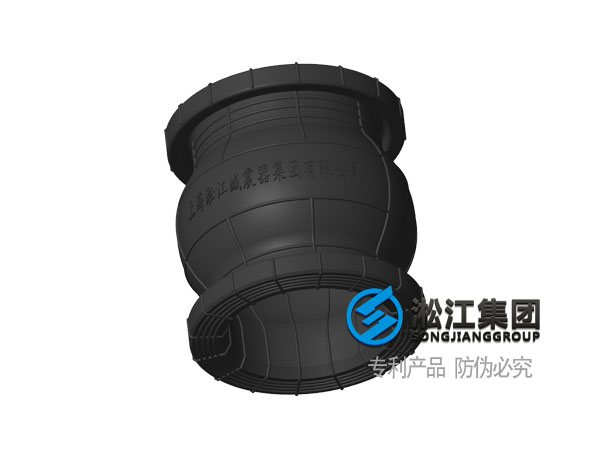
Rubber expansion joint Pn6 Pn10 Pn16 Pn25 installation instructions “How to install and use correctly” Key factors for installation to obtain good performance and prolonged of the rubber expansion joint Pn6 Pn10 Pn16 Pn25.

Key factors for installation
The following advice is however to be taken into consideration to obtain good performance and prolonged the rubber expansion joint Pn6 Pn10 Pn16 Pn25.
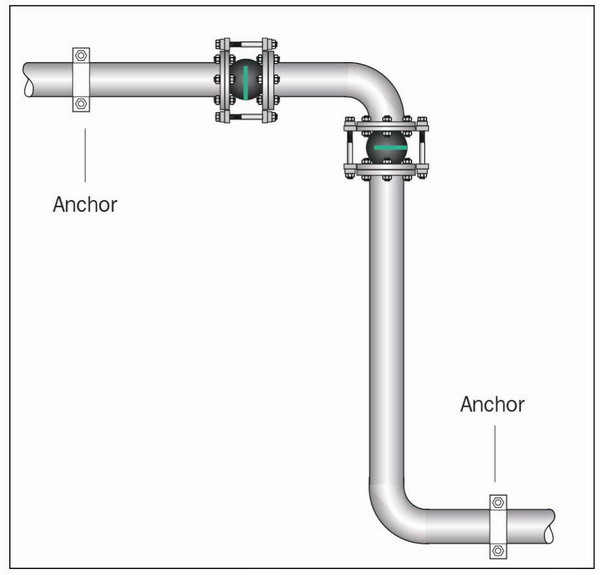
Fixed points
A rubber expansion joint Pn6 Pn10 Pn16 Pn25 acts as a piston by the forces arising from the internal pressure. To prevent the pipes from damage they are to be properly anchored to take care of these reaction forces (Fr).
The Reaction force of a rubber expansion joint Pn6 Pn10 Pn16 Pn25 is calculated by the following formula:
Fr = Q x P x 0.01
Fr = reaction force in kN.
Q = effective cross-sectional area in cm2.
P = actual pressure in bar or kp/cm2
Installation
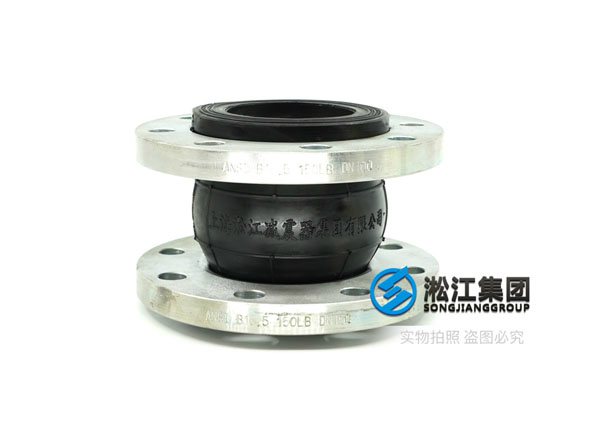
The turnable metal flanges make installation easier and eliminate twists.
The low inherent rigidity of Sungkiang rubber expansion joint Pn6 Pn10 Pn16 Pn25s makes for easier accommodation of installation dimensions.
Check the permissible movements, temperature, pressure, and proper rubber quality before installation!
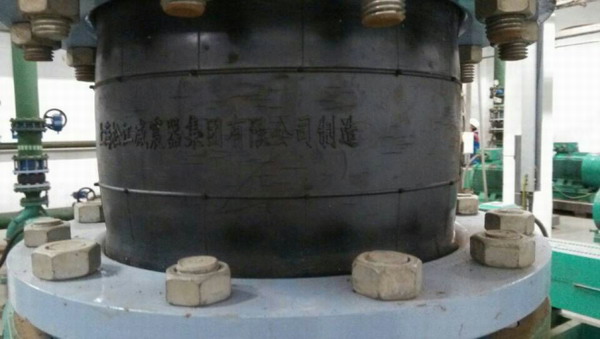
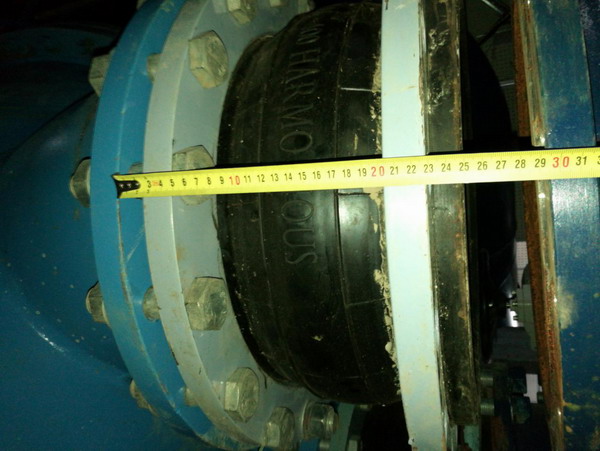
The rubber expansion joint Pn6 Pn10 Pn16 Pn25s shall be easily accessible and open to regular supervision. Lt is recommended to let the rubber expansion joint Pn6 Pn10 Pn16 Pn25s work in compression rather than stretching. Torsion is not permitted.
Maintenance instructions: observe whether the rubber joint is overstretched and keep the rubber joint at normal length every month.
Pressure-restrained rubber expansion joint Pn6 Pn10 Pn16 Pn25 on the pump (with tie rod)
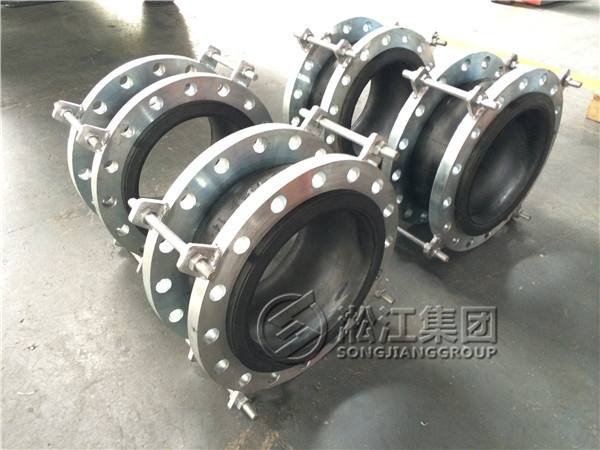
Absorb vibrations and thus relieve pressure on the machine housing.
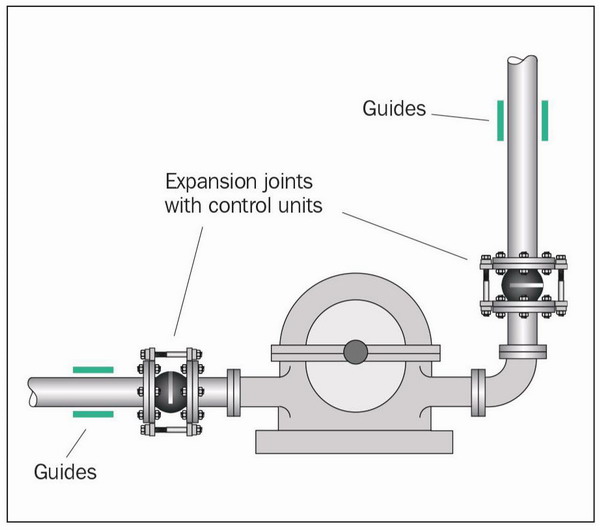
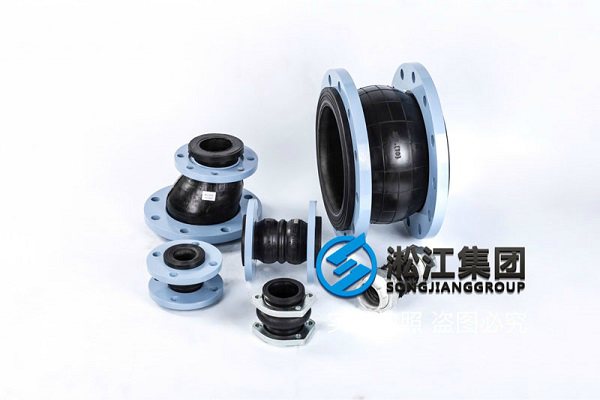
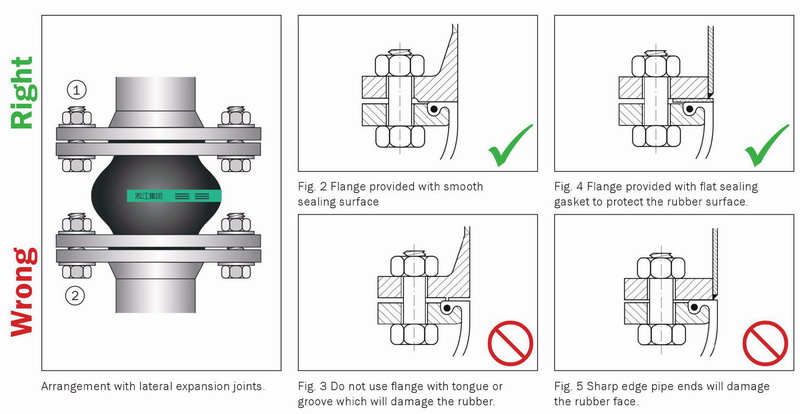
Arrangement with lateral rubber expansion joint Pn6 Pn10 Pn16 Pn25s.

Mounting
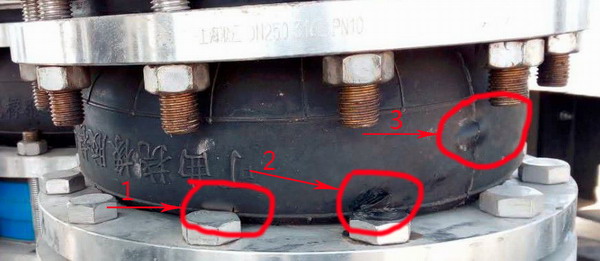
To provide the movement, and capabilities indicated in the technical specifications, the assembly bolts should be mounted with bolt heads towards the expansion joint body. (1)
If this is for any reason impossible, ensure that the threaded bolts project as little as possible(no more than 2 or 3mm)to avoid damage to the body.
Tightening must be progressive and crosswise in diagonal sequence with bolting pressure evenly distributed.
The design of the rubber expansion joint Pn6 Pn10 Pn16 Pn25s secures a sealing to the counter flange. That is why no sealing gasket is required.
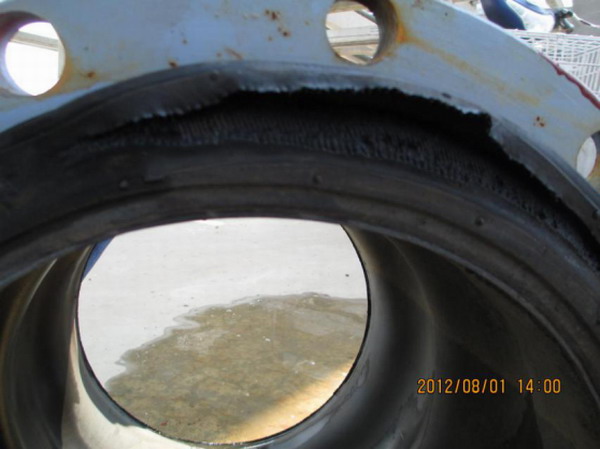
Note: If the bolts and nuts are tightened too strongly, the sealing face might be crushed causing function!
Counter flanges
The safe operating and life expectancy of the rubber expansion joint Pn6 Pn10 Pn16 Pn25 needs to make a proper installation of the counter flanges(Fig. 2 to 5). The sealing face of the counter flange must be machined smooth and cover most of the rubber sealing face(or at least 60%)to ensure good sealing(Fig.2).
Precaution
Do not paint or lubricate rubber parts of rubber expansion joint Pn6 Pn10 Pn16 Pn25s!
When welding work is to take place the bellow has to be protected from welding heat and sparks!
Attention: Please strictly use the rubber fittings of the union according to the above requirements, if not used, cause any consequence, Shanghai Songjiang Group not be responsible.
Related Link: Din-rubber-expansion-joint-industry-case

